Handling Customisations When Upgrading

Should you be upgrading from SharePoint 2003 to 2007 or 2010, you may need to consider how to handle any customisation you have implemented on your current site.

There are a three options that are available for consideration:

  1. Keep the customisations.
  2. Replace the customisations.
  3. Redo the customisations.

The first option is to keep the customisations in place, which will allow you to keep the same look and feel as the current system, however you would not be able to take advantage of any new capabilities at this stage. If this is the option that would best suit you, there are three options; complete an in-place upgrade, do a gradual upgrade and keep the site in the previous version environment (do not upgrade the site) or you can do a gradual upgrade and upgrade the site , but don’t reset any pages to the site definition.

The second option to replace the customisation is a good option if you are planning on a complete site redesign or significantly changing the information architecture. You can accomplish this is one of two ways; one is to complete an in-place or gradual upgrade and then reset all the pages to the default pages from the site definition. The other way, if you do not need the structure or content is to start a complete fresh.

The final option is to redo the customisation. This method allows you to take advantage of the new capabilities and modify the design slightly if that is required and make it more manageable. You could take advantages of the new master pages to apply your design, rather than customise each individual page. There are three ways to redo the customisations. The first is to complete an in-place or gradual upgrade and do not reset the pages to the site definition version. After the upgrade, modify the appropriate master pages and page layouts of the upgraded site to take on the previous version’s look and feel, and then reattach the page layouts to all customised pages. The next option is to complete an in-place upgrade and do not reset the pages to the site definition. After the upgrade, open the site and copy the customisations, and then reattach the page layouts and reapply your customisations to the master pages and page layouts as appropriate. The final way to complete this method is to complete a gradual upgrade and, in the upgraded site, reattach the page layouts. Then transfer the customisations from your original site to the master pages and page layouts in the upgraded site by using Office SharePoint Designer.


The full article can be found at: http://technet.microsoft.com/en-gb/library/cc263203(office.12).aspx
Office 365

Just a little update on some features that we have not previously reported about. Today I found an interesting article that talks about some features that I had not thought of. One of which is that there is the option to integrate Office 365 with your own hardware, although Microsoft has not said much about this option as of yet and is concentrating its efforts on hosting and cloud space.

The other interesting feature I had not considered is that as this is a subscription service, as long as you subscribe to the Professional Plus version, you will receive free updates to Office and even entirely new versions. The next version of Office is currently in the works and is codenamed Office 15.

More on this article can be found at:  http://www.pcpro.co.uk/realworld/365749/what-microsoft-got-right-in-office-365

Mac Testing

It is important to test that systems work on all platforms. So far we have tested Office 365 using Microsoft Internet Explorer, Apple Safari, Google Chrome and Mozilla Firefox on PC’s. We still need to test the system using Opera. We think that it is important to test the integration of Office 365 with Office for Mac 2011, at this moment in time we are not able to test this. We have however tested the functions of the teamsite using Safari on a Mac, and everything works as expected. We will at some point be testing Office 365’s integration with Office for Mac 2011. Keep checking back to this post to see the progress of testing.

Office 365: Example External Site

After experiencing many problems with accessing the relevant pages to design the external site, the cause of which is unknown, we have been able to overcome the issue by typing the URL into the browser rather than navigating through the site. When the problems first arose Rob and I looked for solutions using the Office 365 Community Forums, where we found that many other users seemed to be experiencing similar issues. One Microsoft engineer suggested that users submit service requests through the Admin page, but again another unexpected error was thrown at us upon attempting to do this. I suspect that now that Microsoft have released Office 365, they support efforts are concentrated on subscribing customers, although this is just speculation.

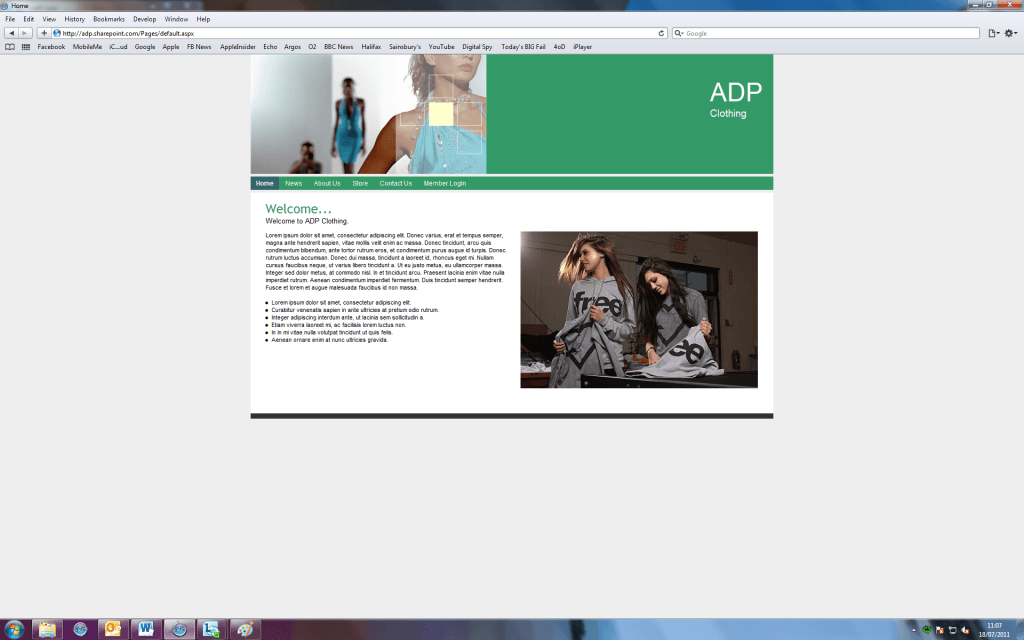
The master page of the external website cannot be changed and therefore you are limited to what you can do with the layout, however you can override the CSS and once you have dissected all of the default CSS can make almost any design changes you wish. We decided to keep the design clean and simple, modifying only the color scheme and tidying up the navigation, which by default looks a bit messy.

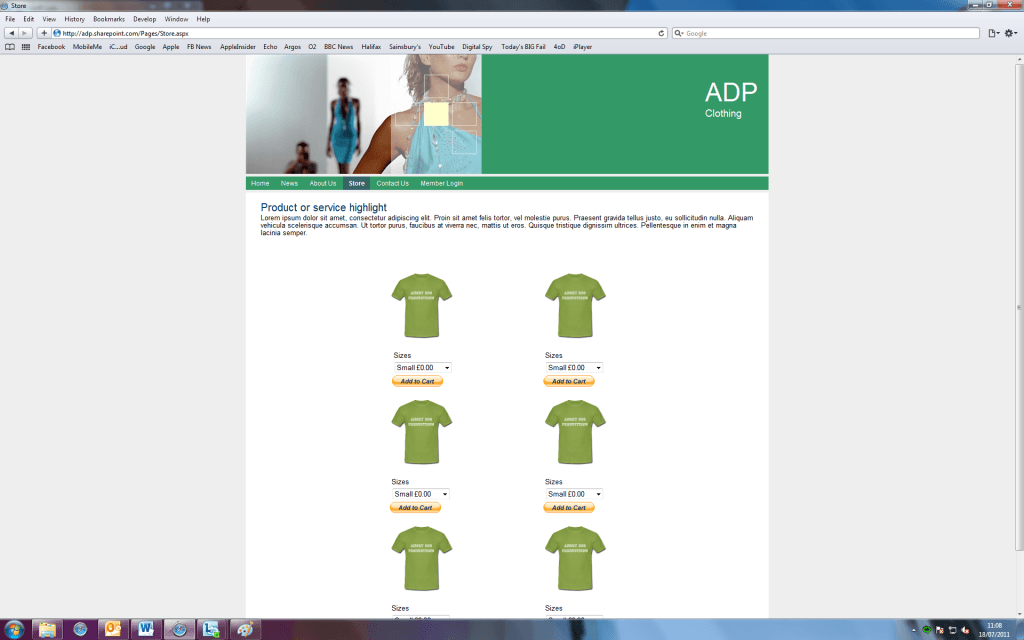
Rob added a mock ‘Store’ page to the site to show that small businesses could, if they wish to, sell there own products using Office 365. Although Office 365 does not offer an out of the box store template, it was still fairly easy to set up a simple store using the paypal web parts. When inserting a paypal web part, the user is redirected to their paypal account which is where they will create the buttons for their products, once they have done this they will be provided with some html code which is then inserted into the paypal web part, a button is then generated. For anyone who is fairly confident with computers this should be a straight forward task, but for people who may be a bit overwhelmed, they may want to get a friend to do it for them.

The ‘Contact Us’ page, included by default, we think is very important from a consumers point of view. There is nothing more frustrating when you want to contact a company and you cannot find anywhere on their site to do it. We used one of the built in webparts to create a contact us web form. This is simply selected from a menu and dropped in to the webpage where your cursor is. This web form asks the user for their name, email address, and their message. The content of these forms is then sent by email to the chosen person/s, where the query can be followed up.

To try and make the website a little different from the sandbox solution Rob attempted to add in some JQuery navigation for the store, this involved some very simple code. This meant editing the master page too, after some, it became apparent that it wasn’t possible to edit the master page as it wouldn’t accept any changes at all and would just throw back an error.

Microsoft Plans to Expand Office 365 with Visio & Project

Microsoft appears to be already planning for an expansion of services provided with Office 365. In an article posted by Mary Jo Foley on Zdnet, it is suggested that Microsoft is planning to introduce Visio and Project to the cloud to join a handful of other services already offered. This is a surprising move considering it’s less than a month ago that the service was officially launched to the public. However it does show that Microsoft is committed to the service and the Office 365 brand.

Full details of the story can be found here: http://www.zdnet.com/blog/microsoft/microsoft-to-boost-office-365-with-project-and-visio-cloud-services/10057